
Create a dashboard, add your first card, then move and resize it.
On this page
This walks you through building a small dashboard from nothing. It takes about five minutes.
1. Create the dashboard
From the overview screen, tap Add dashboard. Give it a name — something like Living room — and save.
You now have an empty dashboard. Open it.
2. Turn on edit mode
Tap the pencil icon in the top right. The screen switches to edit mode: a grid appears, and each card grows a ⋯ menu.
Nothing you do in edit mode controls your devices. Tapping a light here selects it rather than switching it on, so you can rearrange a dashboard without turning the house on and off.
3. Add a card
Tap the + in the top bar. You get a gallery of card types, each with a small preview. Pick Device.
Choose the device you want — a light is the easiest thing to start with — and tap Save.
4. Move and resize it
Still in edit mode:
- Move — press and hold the middle of the card, then drag.
- Resize — press and hold any corner, then drag.
Cards snap to the grid. If a card will not go where you want, something else is already occupying that space.
5. Leave edit mode
Tap the checkmark in the top right. The grid disappears and your cards become live.
Tap your light. It should turn on.
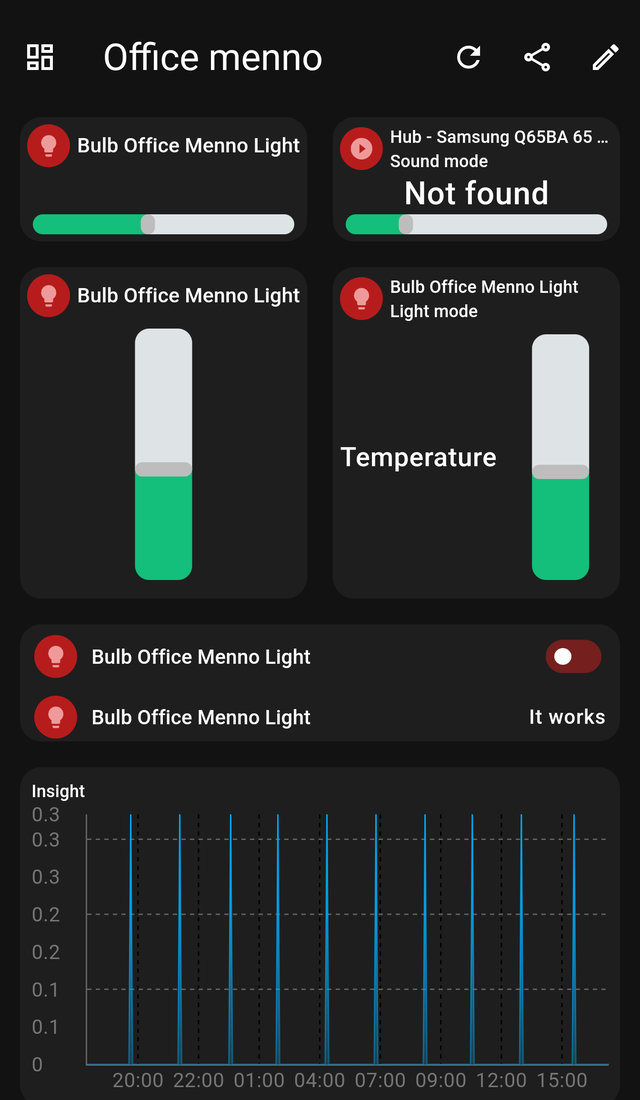
6. Make it yours
From here, a few things worth trying:
- A second card. Add a Multicard to put several devices in one compact list.
- A background. In dashboard settings, set a background image.
- A colour. In a card's Style tab, change its background and text colour.
- A room per dashboard. Create more dashboards and link them together with Dashboard cards.
If something goes wrong
Deleted a card by accident? It is recoverable for 14 days — see Trash bin.
Next
The overview screen, or jump to all cards at a glance.