
Require a code before a card can be operated, and how the unlock window works.
On this page
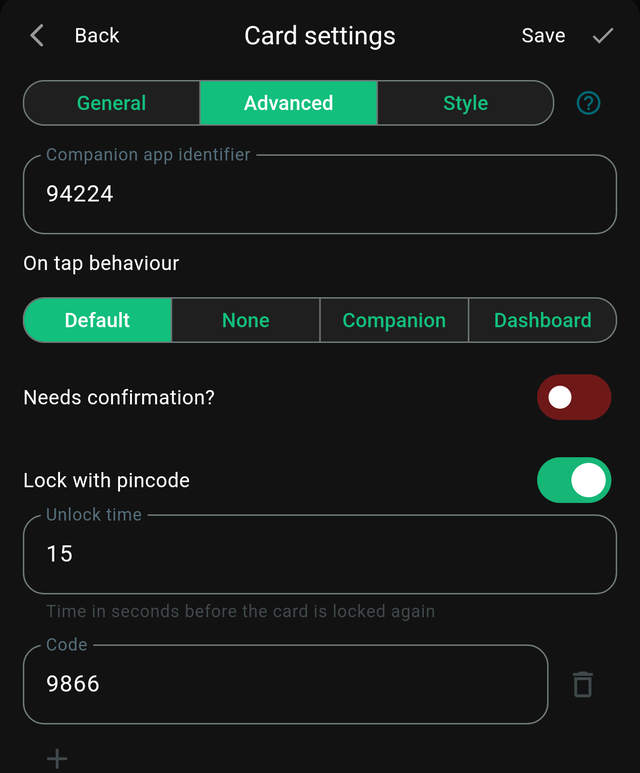
PIN protection requires a numeric code before a card will do anything. It is set per card, in the Advanced tab under Lock with pincode.
Turning it on
Switch on Lock with pincode. Three settings appear:
| Setting | What it does |
|---|---|
| Unlock time | Seconds the card stays unlocked after a correct code. Default 15 |
| Code | An accepted code. A four-digit code is generated for you |
| + | Add another code |
Change the generated code to something you will remember, then Save.
What it looks like
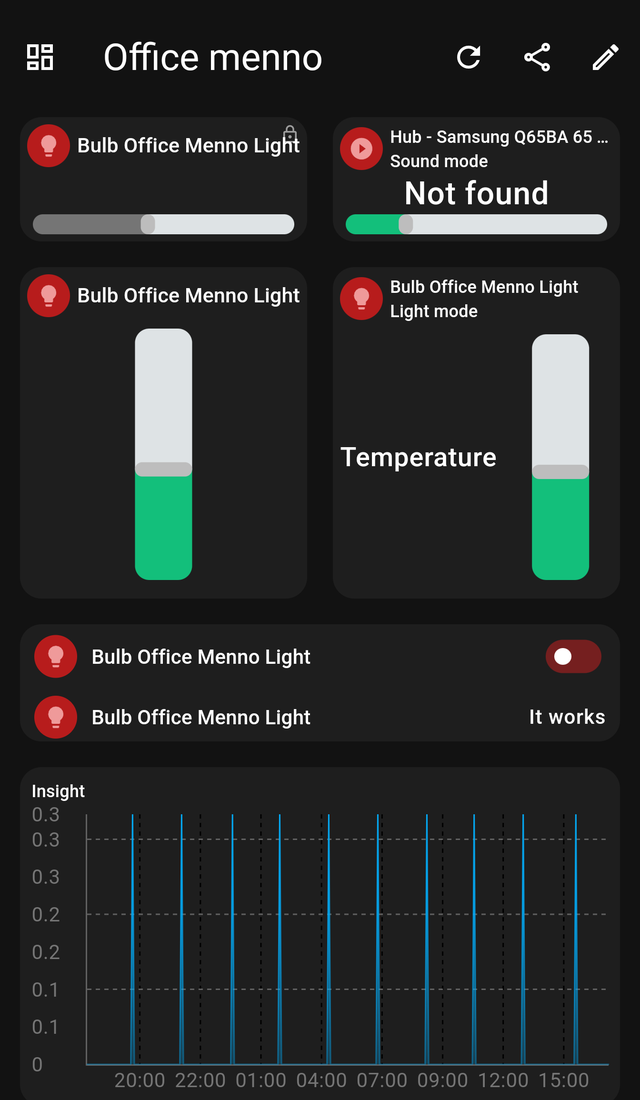
A protected card shows a small padlock in its corner, and its controls — sliders, buttons, switches — are greyed out.
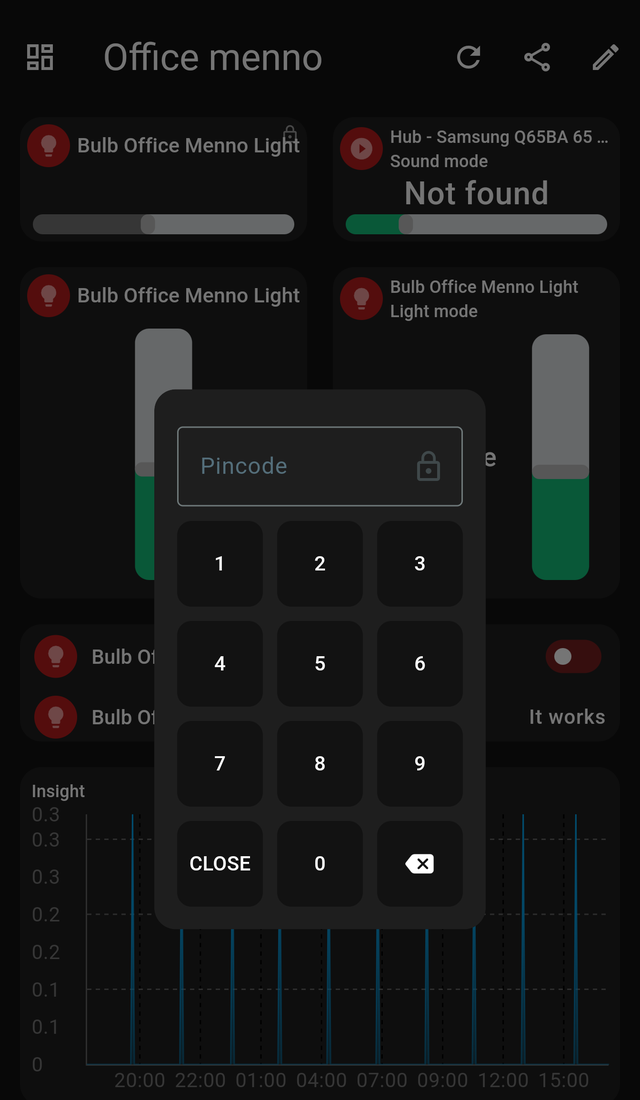
Tapping or long-pressing anywhere on the card opens a keypad. Enter a correct code and the card unlocks: the padlock opens, the controls become active, and you can use the card normally.
Entering the code unlocks the card; it does not also perform the action. After unlocking, tap again to actually switch the light or run the flow. This is deliberate — it means you never trigger something just by proving you are allowed to.
The unlock window
After a correct code the card stays unlocked for the Unlock time, then locks itself again automatically.
Choosing a value is a trade-off:
- Short (5–15 seconds) — the card re-locks almost immediately. Right for a door lock.
- Longer (60+ seconds) — do several things without re-entering the code. Reasonable for a thermostat you are adjusting.
Remember that during the window the card is fully unlocked for anyone, not just for you. On a shared wall panel, keep it short.
Multiple codes
Add several codes with the + button. Any of them unlocks the card.
Useful for giving household members their own code, or for a temporary code you can remove later without disturbing anyone else's.
What it protects
When a card is locked, every way of operating it is blocked: tapping it, long-pressing it, its sliders, its buttons, and the rows inside a Multicard. A locked Multicard is locked as a whole — every row — because the PIN is a property of the card, not of the individual rows.
If you need one device protected and others freely available, give that device its own Device card and lock that.
What it does not protect
Be clear about what this feature is:
PIN protection is a guard on the dashboard, not on the device. It stops someone tapping the tile. It does not stop:
- Someone using the Homey app directly.
- Someone signed into your HDashboards account on another device.
- Someone who can enter edit mode, where they can read or remove the PIN.
- A physical switch on the wall.
For a door or a gate, it is a sensible extra layer against a passer-by or a curious child on a wall panel. It is not a replacement for access control on the lock itself.
If you want to restrict what a household member can reach at all, use Users and permissions — that is enforced on their account rather than on the card.
Good candidates
- Door locks, gates and garage doors.
- Alarm arm/disarm.
- Flows that are disruptive to run by accident.
- Anything within reach of small hands on a wall-mounted tablet.
Tips
- Do not use it everywhere. A dashboard where every card asks for a code is one people stop using.
- Confirmation is often enough. For disruptive but not sensitive, Needs confirmation? in the Advanced tab is far less friction.
- Changing the setting applies immediately. Turn the PIN on and the padlock appears at once — no reload needed.