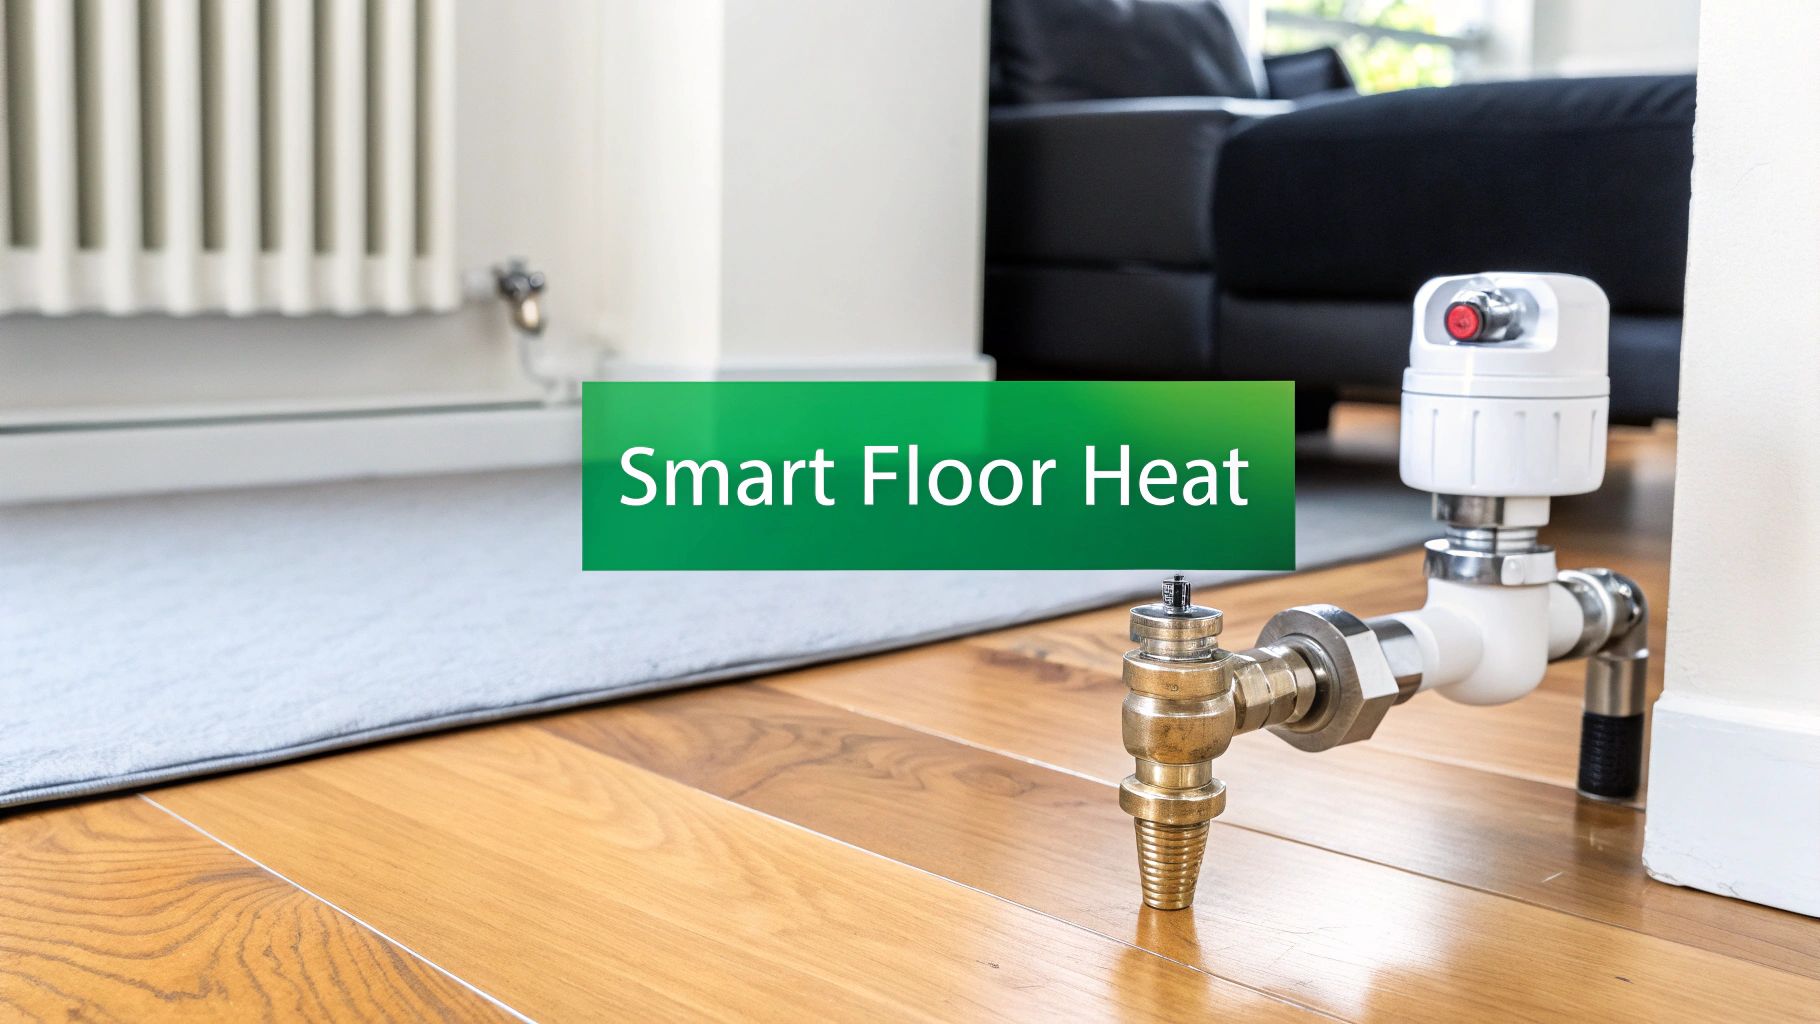
While a standard Thermostatic valve on underfloor heating(thermostaatkraan op vloerverwarming) is crucial for controlling water temperature, adding smart control with Homey takes it from a simple mechanical part to the very brain of your heating system. When you integrate a smart valve with Homey, you're no longer just maintaining a temperature; you're creating a proactive, intelligent system that seriously boosts comfort and slashes energy use. This is how you unlock precise, room-by-room heating that actually fits your life.
Why Smart Control For Underfloor Heating Matters
Let's be honest, traditional underfloor heating often feels a bit disconnected from modern life. It runs on a pretty basic, slow-to-react principle: heat the floor to a certain point, then stop. This one-size-fits-all method is what leads to those all-too-common frustrations many of us have experienced.
The biggest issue is just how long it takes to react. Underfloor heating isn't like a radiator that gets hot in minutes; warming up a cold floor can take hours. A manual system can't predict when you'll be home, which means you're either wasting energy heating an empty house or coming back to a cold one.
Beyond Basic Temperature Regulation with Homey
By adding a smart thermostatic valve that talks to Homey, you turn that passive system into a truly dynamic one. It's not just about hitting a set temperature anymore. It’s about intelligent control that understands your actual lifestyle.
This single upgrade lets your heating react to all sorts of triggers managed by Homey Flows:
Your Schedule: Automatically start warming the bathroom floor an hour before your alarm goes off.
Your Presence: Use Homey's geofencing to turn the heat down when the last person leaves and crank it back up as the first person heads home.
External Factors: Connect Homey to weather services to pre-emptively boost the heating when a sudden cold snap is on its way.
This is the real game-changer: shifting from manual tweaks to true automation within Homey. Your heating system starts working for you, not just waiting for you to tell it what to do. It becomes a seamless, thinking part of your smart home.
The Power of Data and Visualisation with HDashboards
One of the best things about smart control is finally being able to see what’s going on. A manual valve gives you zero feedback, but a smart one provides data you can actually use. This is where a tool like HDashboards becomes absolutely essential. After all, great control depends on a great interface, and digging into the principles of smart home UI design shows just how important that is.
With a custom HDashboards panel for your Homey system, you can see room temperatures at a glance, watch your heating cycles, and make smart changes to your Homey Flows. This visual feedback is what allows you to fine-tune your system for that perfect balance of comfort and efficiency.
If you’re looking for a bit of inspiration on what a full smart home setup can look like, check out these awesome community tutorials on building a smarthome from scratch. This guide will walk you through that critical first step: upgrading your Thermostatic valve on underfloor heating (hermostaatkraan op vloerverwarming) to build a smarter, more responsive home with Homey.
Picking the Right Smart Valve for Your Homey Setup
Getting the hardware right for your Thermostatic valve on underfloor heating (hermostaatkraan op vloerverwarming) is, without a doubt, the most critical step in this whole project. Nail this, and the rest is genuinely straightforward. If you make the wrong choice here, you could be setting yourself up for connection headaches, constant battery changes, and a whole lot of frustration. So, let’s get past the jargon and focus on what actually matters for a rock-solid Homey integration.
First things first, you have to think about the physical fit. Underfloor heating manifolds are not a one-size-fits-all situation. You'll generally find two main thread sizes for the actuators: M28 x 1.5mm and M30 x 1.5mm.
Before you even start looking at Zigbee or Z-Wave, you need to figure out which one your manifold has. Just unscrew the manual knob you have on there now; the size is often printed right on it, or you can measure it. Most smart valves on the market come with an M30 thread and throw in an M28 adapter, but it's always smart to double-check before you click "buy."
How Will It Talk to Homey?
Once you know the valve will physically fit, the next big decision is how it's going to communicate with Homey. You've got three main protocols to consider, and each has its pros and cons in a real-world smart home.
Zigbee: This is a fantastic choice for most of us. Zigbee devices create their own mesh network, which means every powered device helps pass the signal along, making the network stronger. This is a huge plus if your manifold is tucked away in a cupboard far from your Homey Pro. They’re also known for being incredibly light on battery use.
Z-Wave: Much like Zigbee, Z-Wave also creates a powerful mesh network. It tends to operate on a lower frequency, which can sometimes give it an edge in penetrating thick walls and floors. Z-Wave gear can sometimes cost a little more, but it has a well-earned reputation for being extremely reliable.
Wi-Fi: It might seem convenient since you don't need a specific hub (just your router), but Wi-Fi is probably the worst choice for a battery-powered device like this. It’s a power hog, meaning you’ll be swapping out batteries way too often. It also doesn't build a mesh network, so if the Wi-Fi signal is sketchy near your manifold, you’ll be dealing with constant connection drops.
For a 'set it and forget it' device like a
Thermostatic valve on underfloor heating (hermostaatkraan op vloerverwarming), Zigbee or Z-Wave are hands-down the better options for Homey. Their low-power design and dependable mesh networking are exactly what you need for something that just has to work quietly in the background.
What to Look For: A Quick Comparison
Beyond the connection and the protocol, a couple of other things will really impact your experience. Battery life is a big one—you don’t want to be crawling into a tight space to change batteries every few months. Look for valves that promise at least a year of life.
It's also a good idea to check the stability of the device's Homey app. A quick search on the Homey Community Forum can tell you a lot about whether other users are having a good experience with a specific model.
To help you out, I’ve put together a quick comparison of some popular valves that are known to play nicely with the Homey ecosystem.
Smart Thermostatic Valve Compatibility Comparison for Homey
Choosing a valve can feel a bit overwhelming with all the options out there. This table breaks down a few of the most common choices, focusing on the features that matter most when you're integrating with an underfloor heating system controlled by Homey.
Valve Model | Protocol (Zigbee/Z-Wave/Wi-Fi) | Homey App Support | Common Manifold Fit | Estimated Battery Life |
|---|---|---|---|---|
Aqara Radiator Thermostat E1 | Zigbee 3.0 | Official Aqara & Xiaomi App | M30 (Adapters Included) | ~1 Year |
Eurotronic Spirit Z-Wave Plus | Z-Wave | Official Eurotronic App | M30 (Adapters Included) | 1-2 Years |
Shelly TRV | Wi-Fi | Official Shelly App | M30 (Adapters Included) | Up to 2 Years (Rechargeable) |
Tuya Zigbee TRV | Zigbee | Tuya Zigbee App | M30 (Adapters Included) | ~1 Year |
In the end, the perfect valve is one that fits your manifold, uses a protocol you can count on like Zigbee or Z-Wave, and has good feedback from the Homey community. By focusing on these key details, you’ll pick a device that will be a reliable foundation for your new smart heating setup.
Right, you’ve got your new smart valve. Now for the fun part. This is where we connect the physical world of your underfloor heating manifold to the digital brain of your Homey system. We’ll get the valve installed, then get it talking to your smart hub.
It's a pretty straightforward process and you definitely don't need to be a plumber. Just take your time. We'll start with the hands-on bit at the manifold before we even touch the Homey app. Let's get that old manual knob off and bring your heating into the 21st century.
Swapping the Manual Actuator for a Smart Valve
First things first, find the right group on your manifold. If you've got a few different zones, double-check you're working on the correct one—the living room, for instance. Simply unscrew the old manual cap or actuator. It should twist off easily by hand.
With that gone, you'll see a little metal pin. That’s the valve pin, and it does all the work. Give it a gentle press with your finger. It should move down smoothly and pop right back up when you let go.
Pro Tip: If that pin feels stuck, don't force it. A sticky pin is a common headache, especially on older systems. If you install the new valve on a stuck pin, it just won't work. Try a few light taps on the side of the valve body to free it up.
Now, grab your new smart Thermostatic valve on underfloor heating (hermostaatkraan op vloerverwarming). Check if you need an adapter for your manifold's thread size (M28 or M30 are common). If you do, screw the adapter on first. Then, carefully thread the smart valve on and tighten it by hand. Don't be tempted to grab a wrench—over-tightening can easily crack the plastic threads.
This graphic breaks down the physical installation into a few simple steps.
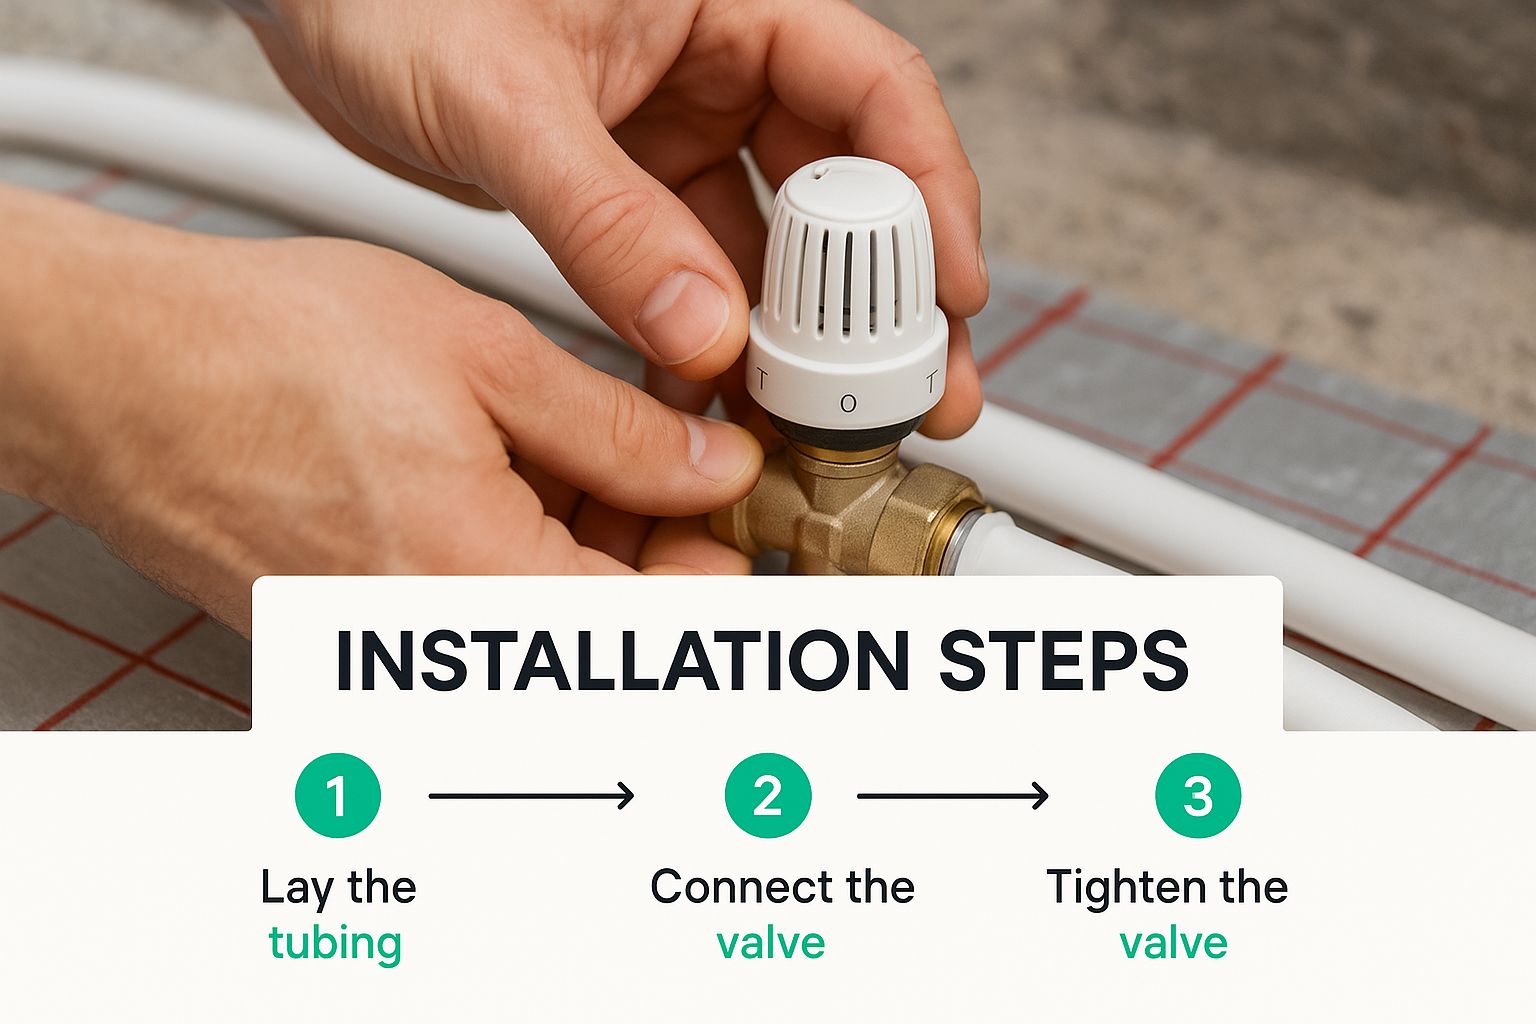
Getting this mechanical part right from the start saves a lot of troubleshooting later when you're in the app.
Pairing the Valve with Homey
With the hardware sorted, it’s time to welcome it into your Homey ecosystem. Pop the batteries in your smart valve and put it into pairing mode. This usually involves holding a button down for a few seconds, but check the manual just to be sure.
Now, open up the Homey app.
Head over to the 'Devices' tab.
Tap the '+' icon in the top right corner.
Find and select the brand of your valve (like Aqara or Eurotronic).
Pick the exact model from the list that appears.
Just follow the on-screen prompts to finish the job.
Homey will start looking for your new device and should find it within a minute or two. This is your chance to give it a sensible name, like 'Living Room Floor Heating', and assign it to the 'Living Room' zone in your app. Trust me, staying organised like this makes building Homey Flows so much easier down the line.
Kicking Off the Initial Calibration
Once paired, the valve needs to get its bearings. This is called calibration, and it's where the valve learns the physical limits of the pin on your manifold. Most smart valves do this automatically right after pairing. You’ll hear its tiny motor whirring as it pushes the pin all the way open and closed a couple of times.
Don't skip this. This step is absolutely critical for accurate temperature control. The valve is literally measuring the travel distance between fully closed and fully open. That data lets it make tiny, precise adjustments later, sending just the right amount of warm water through the pipes.
In the Netherlands, this kind of precision is a big deal. The Thermostatic valve on underfloor heating (hermostaatkraan op vloerverwarming)is central to keeping underfloor heating efficient. When the manifold thermostat says it's warm enough, the system needs to shut off the hot water flow reliably. This is key for comfort and for making sure the floor surface temperature doesn't creep over 28°C, which can damage some types of flooring. To give you some context, a typical heating group might have 70 metres of pipe, delivering about 100 Watts of heat per square metre.
Seeing your new valve show up here means the connection was a success. It's now ready for you to start building smart schedules and visualising its status. From here, you can log into your HDashboards account and start adding this new device to your custom control panel. You're no longer just turning a knob; you're orchestrating your home's comfort.
Building Advanced Heating Flows in Homey
Alright, so you’ve got your smart Thermostatic valve on underfloor heating (hermostaatkraan op vloerverwarming) paired with Homey. That's the groundwork done. Now for the fun part: moving beyond tapping a button on your phone and building an automated system that actually thinks for you. This is where Homey Flows really shine, letting you create custom rules that make your heating fit your life, not the other way around.
Forget setting basic on/off timers. We're going to build a system that knows when you're home, what time it is, and even what the weather is doing outside. It’s all about creating that perfect comfort level while being as smart and efficient as possible.
Your First Intelligent Flow: The Morning Comfort Routine
Let's kick things off with a simple, real-world example that adds a bit of everyday luxury. Nobody likes that first step onto a cold bathroom floor in the morning. We can fix that with a "Morning Comfort" Flow.
The logic is pretty straightforward. Instead of just blasting the heat at a fixed time, we'll make it smarter.
Trigger: Grab the 'Date & Time' card and set it to fire, say, 45 minutes before your earliest weekday alarm. Underfloor heating isn't instant, so giving it a head start is crucial.
Condition: Now, add a condition to check if it's a weekday. You probably don't need the floor warmed up at 6 AM on a Saturday.
Action: Finally, tell your 'Bathroom Floor Heating' valve to set a nice, comfortable temperature—let's go with 22°C.
This one simple Flow ensures the bathroom is perfectly toasty right when you need it, but without wasting energy heating it all through the night. It's a small tweak that genuinely makes your morning better.
Presence-Based Heating with Geofencing
One of the biggest energy vampires is heating an empty house. Geofencing—using your phone's location—is the perfect antidote. Homey can automatically turn your heating down when you leave and back up when you return.
For this, you'll want to build a pair of Flows that work together:
'Everyone Has Left' Flow: This one is triggered the moment the last person leaves the house. The action? Set all your underfloor heating zones to an economy temperature, something like 17°C. This just keeps the system from going completely cold without burning through energy.
'First Person Arrives' Flow: As soon as the first person enters the geofence around your home, this Flow kicks in. Its job is to return the heating to its normal, comfortable setting. You get a warm welcome without ever having to think about it.
By automating temperature setbacks based on who's actually home, you create a hands-off system that adapts in real-time. This is miles more effective than a rigid schedule and is a cornerstone of smart heating efficiency.
The move towards this kind of smart control is undeniable. In the Netherlands, the adoption of smart thermostats for underfloor heating has exploded, showing a real shift towards more efficient heating. Many Dutch homeowners now swap out old thermostats for smart models that can handle multiple zones independently. A smart system like this, connected to individual underfloor heating valves, gives you precise room-by-room control, better scheduling, and remote access. This can lead to some serious energy savings—often reported to be up to 15-20% per year compared to old manual thermostats. You can discover more insights about Dutch smart heating trends on coolblue.nl.
Integrating Other Devices for Smarter Decisions
The real magic of Homey is its knack for getting devices to talk to each other when they normally wouldn't. Your Thermostatic valve on underfloor heating (hermostaatkraan op vloerverwarming) doesn't need to operate in a vacuum.
Window Sensors: Set up a Flow that automatically pauses the heating in a room if a window has been left open for more than five minutes. Simple, but so effective. When the window closes, the heating gets back on schedule.
Weather Services: Hook Homey up to a weather service. You can build a Flow that checks the forecast; if a sudden cold snap is on its way, Homey can proactively bump up the floor temperature a little to get ahead of it.
Smart Plugs on Other Heaters: Maybe you have a small electric heater in one room for an extra boost. A Flow can ensure it only turns on if the underfloor heating has been running for an hour but the room still hasn't hit its target temperature.
These aren't just pie-in-the-sky ideas; they are practical, easy-to-create automations that transform a bunch of separate smart devices into a single, cohesive system. By layering these kinds of rules, you build a home that starts to anticipate your needs, saving energy without you ever feeling a chill, and genuinely adapting to the rhythm of your life.
Visualising Your System with a Custom Dashboard

Automating your heating with Homey Flows is the engine of your smart system, but a custom dashboard is your steering wheel and control panel, all rolled into one. Having a clean, visual interface turns your setup from a bunch of rules running in the background into something tangible and interactive. This is where HDashboards really shines, letting you build a dedicated control centre for your new smart heating.
Let's step outside the standard Homey app and build a beautiful, functional ‘Heating’ dashboard from scratch. The idea is to create an at-a-glance overview that’s both powerful and dead simple for anyone in the house to use, whether on a wall-mounted tablet or just on their phone.
Building Your Core Heating Dashboard
First things first, let's get the basics on the screen. Start by adding device tiles for each Thermostatic valve on underfloor heating (hermostaatkraan op vloerverwarming) you’ve installed. This is the foundation of your dashboard. Just drag and drop the device representing your living room floor, your bathroom, and any other zones you've set up.
Doing this gives you an instant, live view of key information without having to dig through menus. You’ll immediately see:
Current Room Temperature: A real-time reading of how warm the space is.
Setpoint Temperature: The target temperature you’ve set for that zone.
Valve Status: A clear indicator of whether the valve is open (heating) or closed.
This kind of immediate visual feedback is invaluable. You can see straight away if a room is taking a bit longer to heat up or if your setpoints are where they should be, making it easy to make quick adjustments right from the dashboard tile.
Adding Interactive Controls and Flow Triggers
A great dashboard is more than just a display—it’s an interactive control panel. This is where we can add virtual buttons to trigger some of those powerful Flows we built earlier. Instead of fumbling through the Homey app, you can create simple, one-tap buttons right on your HDashboard.
Think about adding buttons for your most common scenarios:
'Boost Heat': A button that temporarily cranks up the heat for an hour.
'Guest Mode': A trigger to activate a pre-set heating schedule for when you have visitors over.
'All Off': A quick way to set all zones to an economy mode when you're heading out the door.
These buttons bridge the gap between complex automation and simple, everyday use. It gives you the full power of your Flows without ever needing to explain the "When/And/Then" logic to family members or guests.
Visualising Temperature Trends Over Time
To really get a feel for how your heating is performing, you need to see the data over time. Adding a simple graph to your dashboard can show you the temperature trends in a room over the last 24 hours. Honestly, this visual information is incredibly insightful. You can see how quickly a room heats up, how well it holds that heat, and whether your scheduled Flows are kicking in at the right times.
This data helps you fine-tune your settings for maximum comfort and efficiency. For instance, setpoints in a typical Dutch household often vary by room. Living areas are usually kept between 20 and 22 °C, while bedrooms stay cooler at 16 to 18 °C. Bathrooms are often set even warmer, between 22 and 24 °C, to keep things cosy. Visualising these different zones on a graph helps you confirm your system is hitting these targets effectively. You can learn more about these typical settings and discover Dutch underfloor heating preferences on 123vloerverwarming.nl.
For even more advanced visualisations, you might also be interested in our guide on how to allow webview cards to load any website, which opens up all sorts of possibilities for integrating third-party graphing tools directly into your dashboard.
Got Questions About Smart Floor Heating? We’ve Got Answers.
Jumping into automating your underfloor heating with Homey is exciting, but it’s completely normal to have a few questions pop up. Moving from a simple manual knob to a smart Thermostatic valve on underfloor heating (hermostaatkraan op vloerverwarming) is a decent step up, so let's walk through some of the most common queries I hear. This should help you feel totally confident with your new setup.
People often worry about reliability. What happens if the internet goes out? What about the batteries in the valve? These are great questions, and the good news is that most smart home gear is designed with exactly these situations in mind.
What Happens If My Internet Goes Down?
This is probably the biggest concern for most people. Does my heating just give up? The short answer: absolutely not, as long as you've picked a Zigbee or Z-Wave valve. These devices talk directly to your Homey Pro, which runs all your automations (or 'Flows') locally.
Think of your Homey Pro as the local brain of the entire operation. It doesn't need to phone home to the internet to run the schedules you’ve already created.
Local Control Keeps Chugging: Your "Good Morning Warm Floor" Flow will still kick in right on schedule.
Timed Automations Are Safe: Schedules based on time are completely unaffected. The only thing that might get tripped up is presence detection that relies on your phone’s Wi-Fi connection to know you're home.
Remote Control is Paused: The only real limitation is that you won't be able to tweak the temperature from your phone if you're not at home.
The key thing to remember is that your core heating automation keeps working just fine because it all happens inside your own home network, no internet required.
Keeping on Top of Battery Life
Another frequent question is about power. How often will I be crawling into that awkward cupboard to change the batteries? Most modern Zigbee and Z-Wave valves are incredibly good on power, usually lasting for at least a year, and some models can even stretch that to two.
Homey also gives you a fantastic safety net here. It’s super easy to build a simple Flow to keep an eye on battery levels for you.
Simply set up a "Low Battery Alert" Flow in Homey. When a valve's battery level dips below 15%, you can have Homey send a push notification straight to your phone. This gives you tons of notice to pop in fresh batteries long before the old ones die. It’s a proactive little trick that means you’re never caught out by a dead valve.
How Do I Handle Multiple Heating Zones?
What if my house is split into different underfloor heating zones, like one for the living room and another for the kitchen? This is where a smart system really starts to shine. You just install a separate smart Thermostatic valve on underfloor heating (hermostaatkraan op vloerverwarming) on the manifold for each zone you want to control.
Inside Homey, you can give each device a clear name ('Living Room Floor', 'Kitchen Floor'). This opens the door to incredibly detailed control. You can create specific Flows for each area, setting unique schedules and target temperatures based on how you actually use the space. This kind of zone-by-zone management is one of the biggest perks, making sure you’re not just burning energy heating an empty room.
Ready to build a beautiful, functional control panel for your new smart heating? With HDashboards, you can design the perfect interface to manage all your Homey devices, see temperature trends at a glance, and trigger your custom Flows with a single tap. Start your free trial today and take full command of your smart home.
Danny on
Open beta (v0.9.2)