Step 1: check if you have the right tutorial
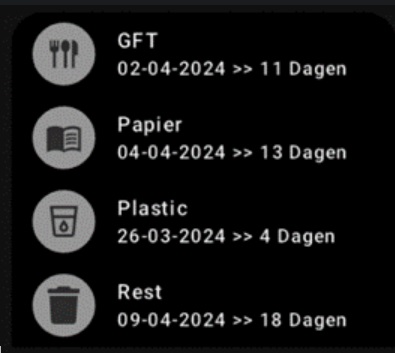
This tutorial is made to get one tile that shows the next collecting day (2 days ahead).
Examples:
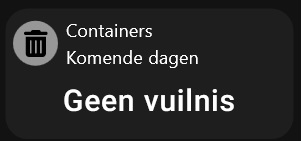
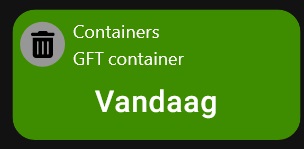
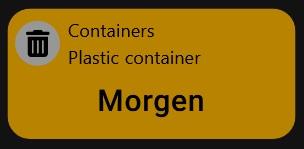
In order to see more days ahead, please go to the tutorial of Sven.
Note: quite a bit of this tutorial is copied from his tutorial.
If chosen for the one tile trash tile, please go to step 2.
Step 2: setting up the Trashcan reminder app
Download the app.
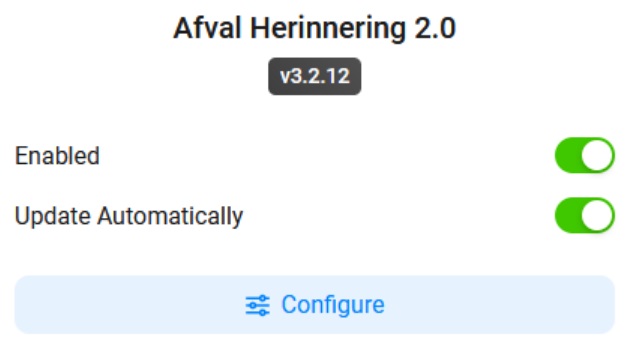
Go to the gear
Search and Click:

Then click on configure:
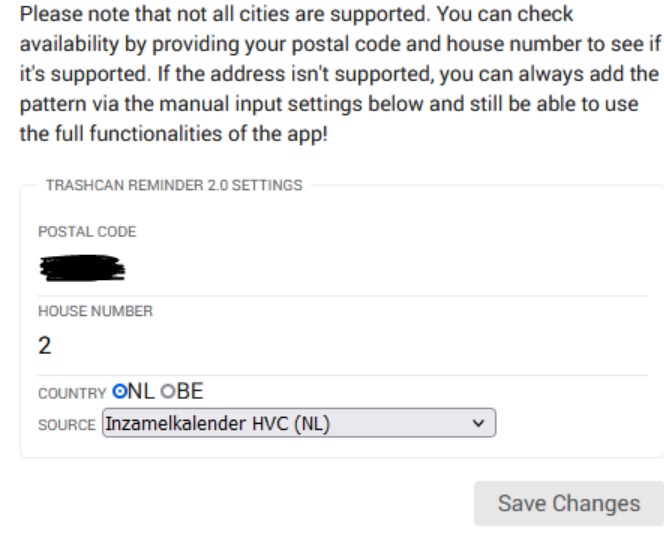
Enter your zip code, house number, country and source.
Step 3: setting up the Device Capabilities app
Download the app.
Now we are going to create a virtual device, with Device Capabilities.
Go to the gear
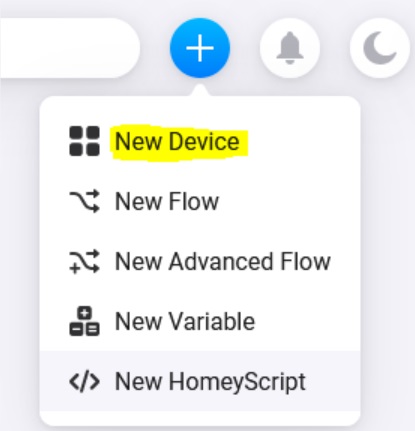
Click on the +

Click on: New Device
Click on: Device Capabilities
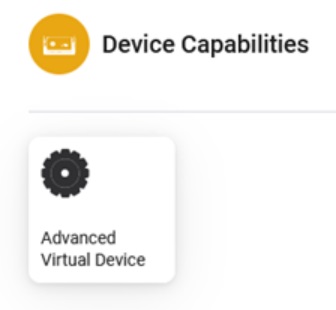
Click on: Advanced Virtual Device
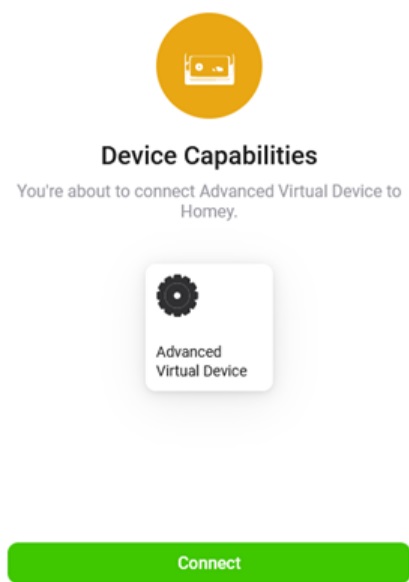
Click on: Connect
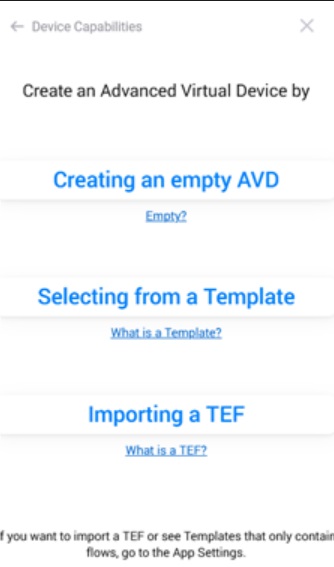
We're going to create a blank AVD, so click Create a Blank AVD
Now give the device a name and an icon/image. As soon as the icon/image is clicked, your device has been created.
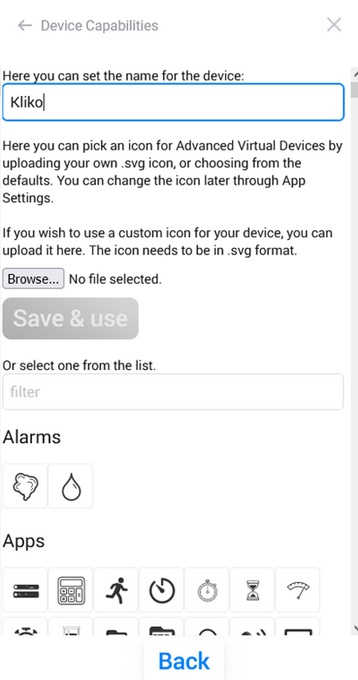
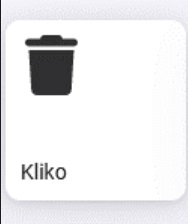
Now it looks like this:
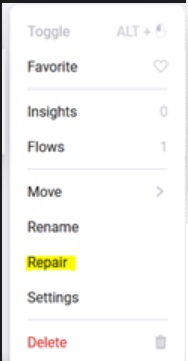
Now go find your virtual device and right-click repair.
Now you will create a text field. Give it a name.
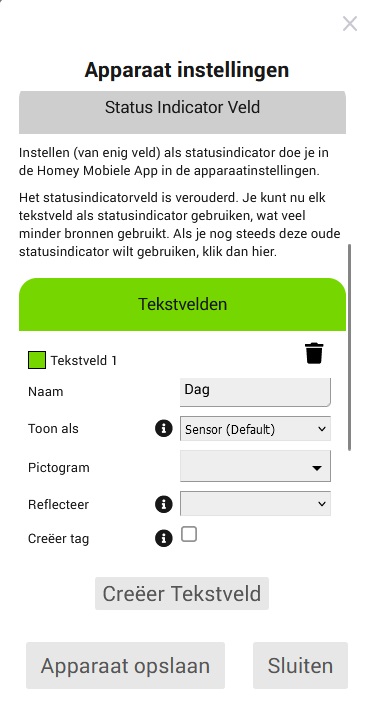
Once these have been created, click Save device at the bottom.
Step 4: background color by the companion app
If you don't know how to change tile color's please check this tutorial.
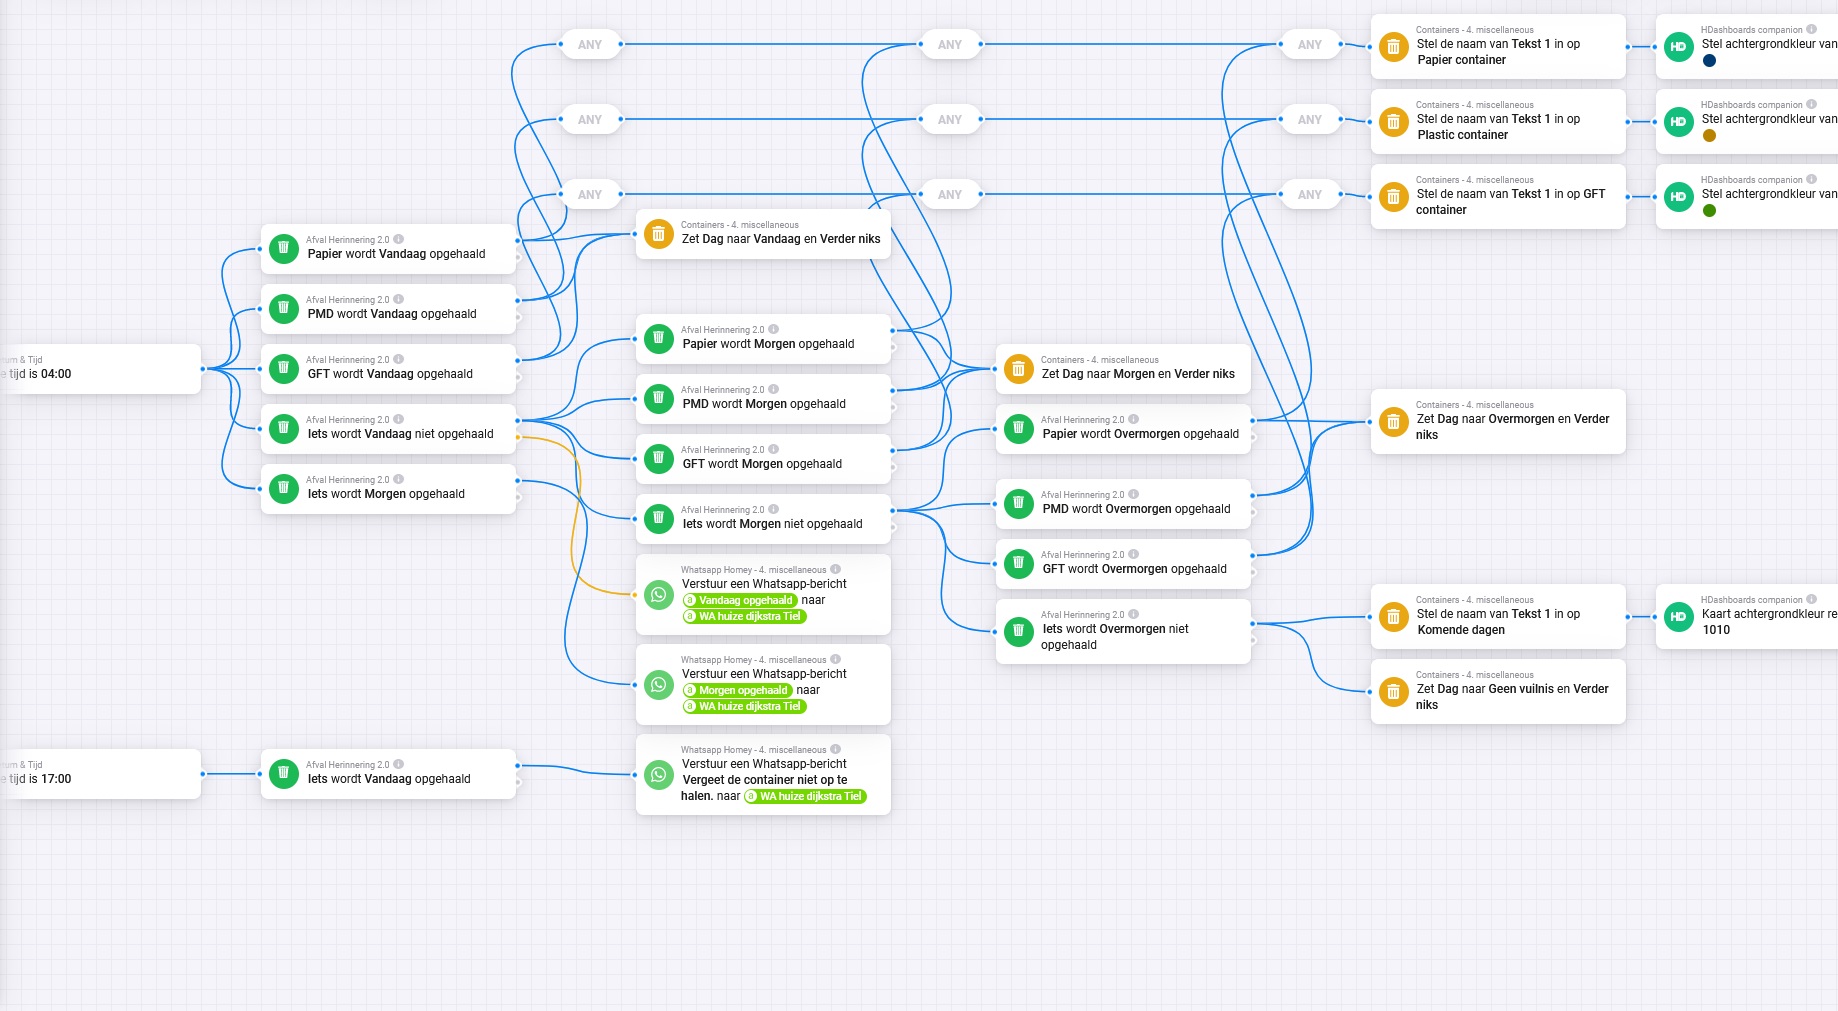
Step 5: make the flows
On the tile, you see 3 lines of words:
- Device name is Containers. You can change it by richt clicking the device.
- The "GFT container" is the name of the text field. You can change it with the card "stel de naam van "veld" in op "naam"
- The "Morgen" is the text in the textfield itself. You can change it with the card "Zet "textveld" naar "text" en "verder niks".
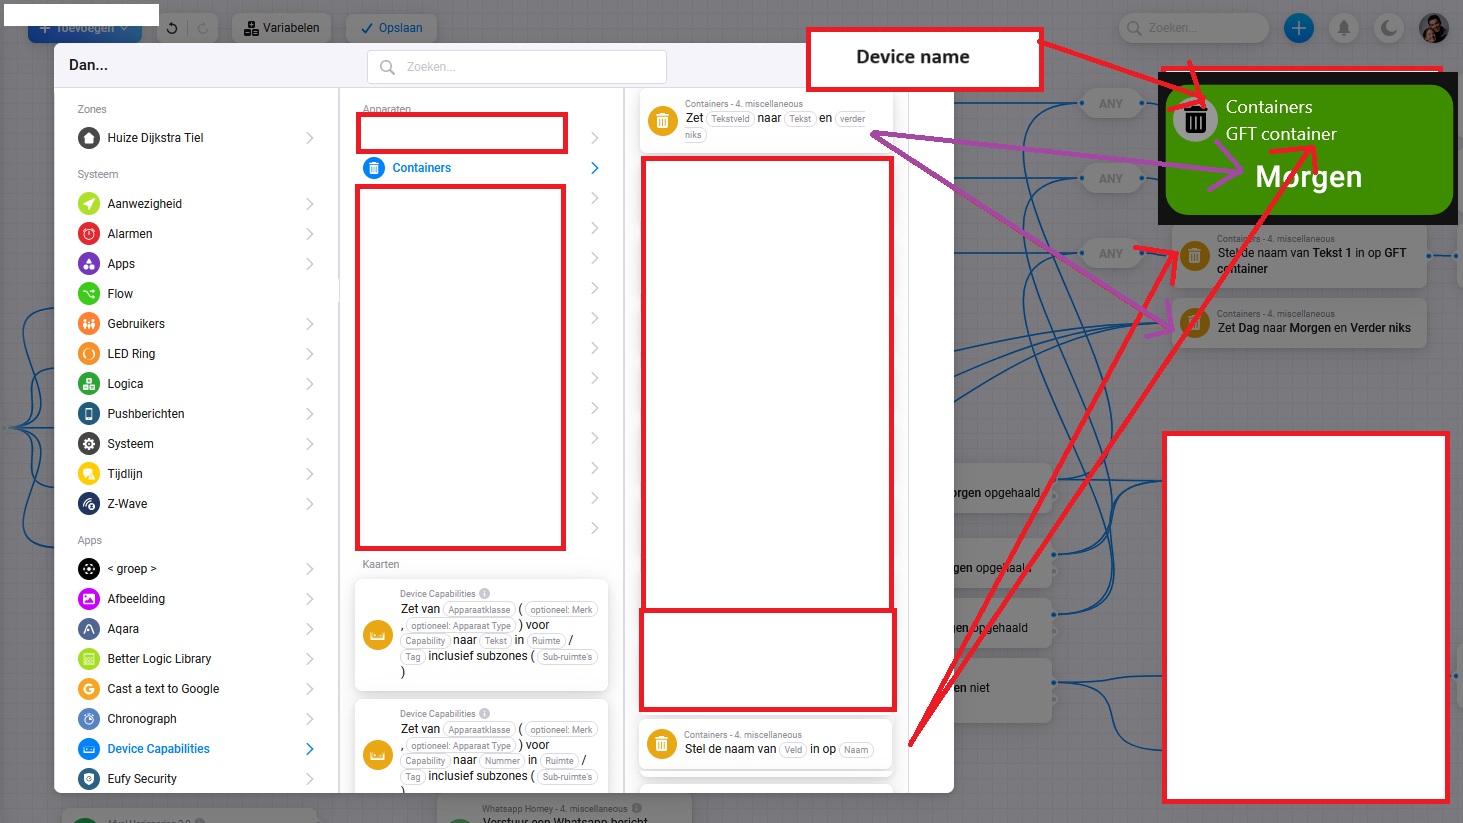
The flow i made for myself looks like this:
