NOTE: I don’t use this anymore, It is for me not possible to help triubleshoot or anything. The manuel can be amended if needed.
NOTE 2: Because of a new API version for the script that you need to put in Homey, this will only works on Homey2023, because you need to make a manual API Key in Homey.
Introduction:
Depending on how you want to use it, you'll need to download and install different apps.
- Afval Herinnering 2.0 to see which trashcan, of course.
- Gallery If you want to use images for HDashboard (I don't use this myself) or Whatsapp (see below).
- Device Capabilities if you want it to appear on a dashboard.
- Custom logic, this is used in the flows.
- HomeyScript to use the script below.
OLD - It seems that there has been an update on Homey about the API's. Below seems to only work on the old API version.
*-*-*-*-*-*-*-*-*-*-*-*-*-*-*-*
Additional script for the Waste Reminder 2.0 app:Borrowed from this website, which also contains a brief explanation: https://community.homey.app/t/trashcan-reminder-future-dates/95186/12?u=true
==================================
const LOCAL_IP = '192.168.X.X'; const localIpDashed = LOCAL_IP.replaceAll('.', '-'); const API_KEY = Homey._token; const collectingDays = await (await fetch(`https://${localIpDashed}.homey.homeylocal.com/api/manager/apps/app/com.trashchecker/setting/collectingDays`, { method: 'GET', headers: { "Content-Type": "application/json", 'authorization': `Bearer ${API_KEY}` } })).json(); const today = (new Date()).toJSON().split('T')[0]; const nextCollectingDay = Object.fromEntries(Object.entries(collectingDays).map(([type, days]) => { days.sort(); days = days.filter(day => day > today); return [type, days[0].split('-').reverse().join('-')]; })); tag("nextCollectingDays", JSON.stringify(nextCollectingDay)); return true;
==================================
*-*-*-*-*-*-*-*-*-*-*-*-*-*-*-*
OLD New script that has been created by Syntex is the following:
==================================
const LOCAL_IP = '192.168.x.x';
const localIpDashed = LOCAL_IP.replaceAll('.', '-');
const API_KEY = 'xxx-xxx-xxx-xxx-xxx-xxx-xxxx';
const collectingDays = await (await fetch(`https://${localIpDashed}.homey.homeylocal.com/api/manager/apps/app/com.trashchecker/setting/collectingDays`, {
method: 'GET',
headers: {
"Content-Type": "application/json",
'authorization': `Bearer ${API_KEY}`
}
})).json();
if (collectingDays?.statusCode ?? 200 === 401) {
console.log('Wrong api token')
throw ('Wrong api token');
return false;
}
const today = parseInt((new Date()).toJSON().split('T')[0].replaceAll('-', ''));
const nextCollectingDays = {};
Object.keys(collectingDays).forEach(key => {
days = collectingDays[key].filter(day => parseInt(day.replaceAll('-', '')) > today);
nextCollectingDays[key] = days[0];
});
console.log(nextCollectingDays)
tag("nextCollectingDays", JSON.stringify(nextCollectingDays));
return true;
==================================
OLD New script received by Jovanand
==================================
// CONFIGURATIONconst LOCAL_IP = "192.168.1.xxxx";const API_KEY = "xxxxxx";// REQUESTconst localIpDashed = LOCAL_IP.replaceAll(".", "-");const res = await fetch(https://${localIpDashed}.homey.homeylocal.com/api/app/com.trashchecker/trashcollectiondays?recalculate=false, {method: "GET",headers: {"Content-Type": "application/json",'authorization': Bearer ${API_KEY}}});if (!res.ok) {log(res.statusText);return;}// HANDLE RESPONSEconst body = await res.json();const today = new Date();let nextCollectingDays = {};body.forEach(activity => {const nextDate = activity.dates.map(date => new Date(date)).filter(dateObj => dateObj > today).sort((a, b) => a - b)[0]; // Pak de eerstvolgende datumif (nextDate) {const formattedDate = nextDate.toLocaleDateString("nl-NL", { day: "2-digit", month: "2-digit", year: "numeric" });nextCollectingDays[activity.type] = formattedDate;}});// Ensure the output is valid JSONconst jsonOutput = JSON.stringify(nextCollectingDays, null, 2); // Pretty-print JSONlog(jsonOutput);tag("nextCollectingDays", jsonOutput);
==================================
Fixed script by Rene:
==================================
const LOCAL_IP = "192.168.1.xxx";
const API_KEY = "xxxxxxxxx";
// REQUEST
const localIpDashed = LOCAL_IP.replace(/\./g, "-");
// Zorg dat de URL correct is
const url = `https://${localIpDashed}.homey.homeylocal.com/api/app/com.trashchecker/trashcollectiondays?recalculate=false`;
try {
const res = await fetch(url, {
method: "GET", headers: { "Content-Type": "application/json", "Authorization": `Bearer ${API_KEY}` } });
if (!res.ok) { console.error(`Error: ${res.status} - ${res.statusText}`); return; }
// HANDLE RESPONSE
const body = await res.json();
const today = new Date();
let nextCollectingDays = {};
body.forEach(activity => { const nextDate = activity.dates .map(date => new Date(date)) .filter(dateObj => dateObj > today) .sort((a, b) => a - b)[0];
// Pak de eerstvolgende datum
if (nextDate) { const formattedDate = nextDate.toLocaleDateString("nl-NL", { day: "2-digit", month: "2-digit", year: "numeric" }); nextCollectingDays[activity.type] = formattedDate; } });
// Zorg ervoor dat de output geldig JSON is
const jsonOutput = JSON.stringify(nextCollectingDays, null, 2); // Print JSON en tag console.log(jsonOutput); tag("nextCollectingDays", jsonOutput);
} catch (error) { console.error("Fetch error:", error); }
==================================
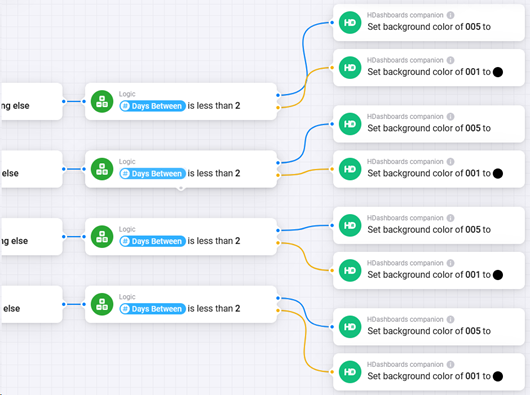
Below is the outcome as I currently have it configured. As soon as it becomes shorter than 2 days, the line in question becomes white.

Now the configuration:
We will first import the above script. To do this, you must first ensure that your Homey gets a fixed IP address. You must set this in your router. Once this is done, you can make a API Key for the new script we going to use.
Go to Homey and click on:
Then click on API Keys:
Then click on:
In the new screen give it a name and select the option below that need to be active. At this moment I have select everything, but I don't know if it can with less.
Something like this:
Click on Create, then you get the API Key, that you need to select
NOTE: You get the complete key 1 time, so when you see it, you need to copy and use it right away or save it temporary in notepad as example.
When you have copied the key temporary in notepad or somehwere else you can click on done.
Now you can continue with the script import.
Import the script. You go to Homey website: https://my.homey.app/login
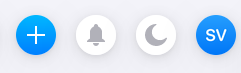
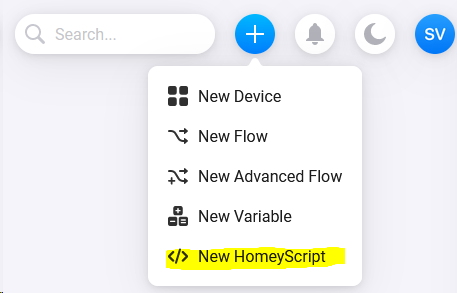
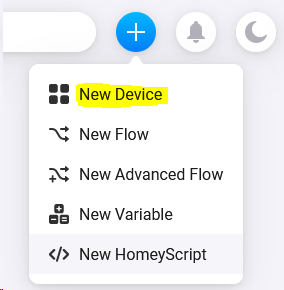
Click on the +
Then click on New HomeyScript.
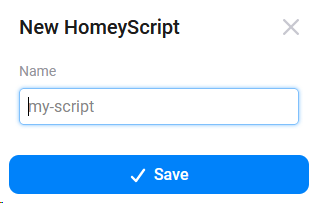
Come up with a nice name and click save.
In the new window you get, paste the script and click test.
If your Homey has been assigned a fixed IP address in your router and you have entered this correctly, as above, you should receive a script success.
On line number 3 you can fill in the API key you have copied.
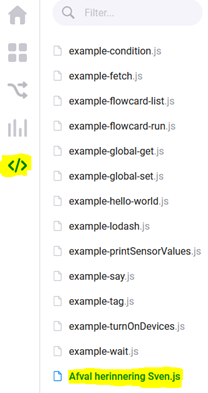
When you click on </> on the left in the menu, you will go to the scripts and you should also find your own script.
We are now going to configure the Trashcan reminder app.
Go to the gear

Search and Click:
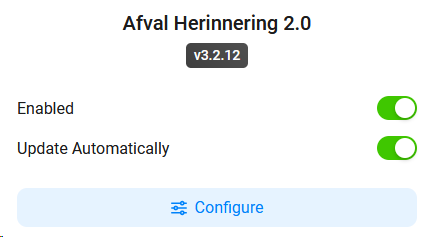
Then click on configure:
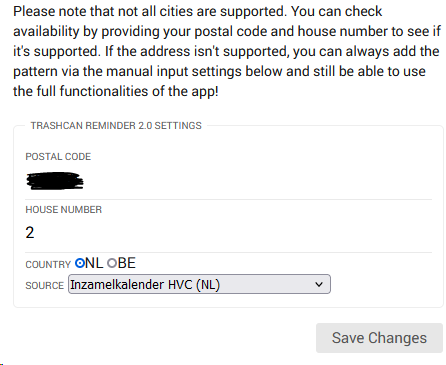
Enter your zip code, house number, country and source.
Now we are going to create a virtual device, with Device Capabilities.
Go to the gear

Click on the +

Click on: New Device
Click on: Device Capabilities
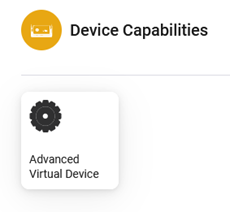
Click on: Advanced Virtual Device
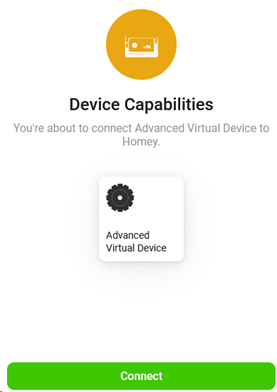
Click on: Connect
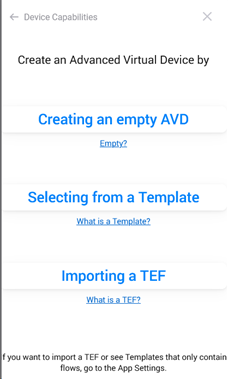
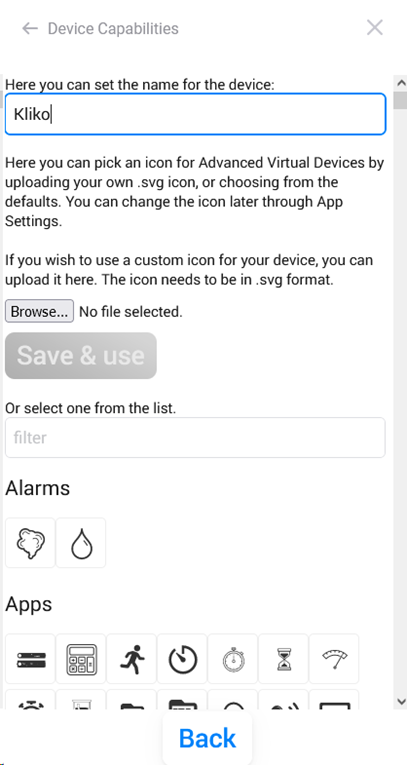
We're going to create a blank AVD, so click Create a Blank AVD
Now give the device a name and an icon/image. As soon as the icon/image is clicked, your device has been created.
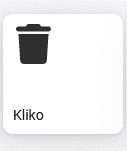
Now it looks like this:
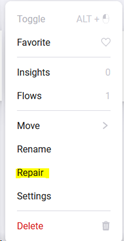
Now go find your virtual device and right-click repair.
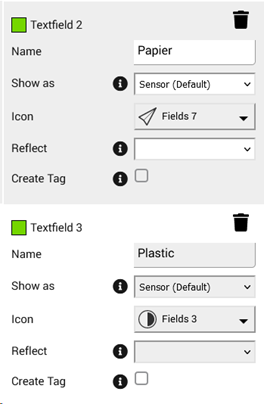
Now you will create as many text fields as you need. GFT, paper, plastic, rest, etc….
Below you can see what that looks like:
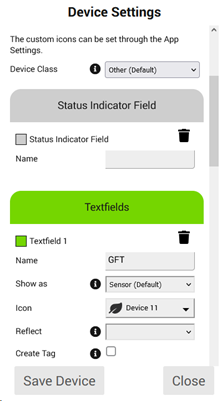
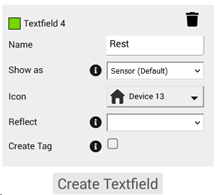
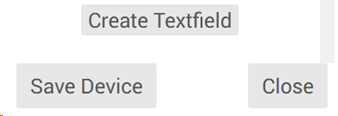
Once these have been created, click Save device at the bottom.
Once this is done, we can start working on the flows.
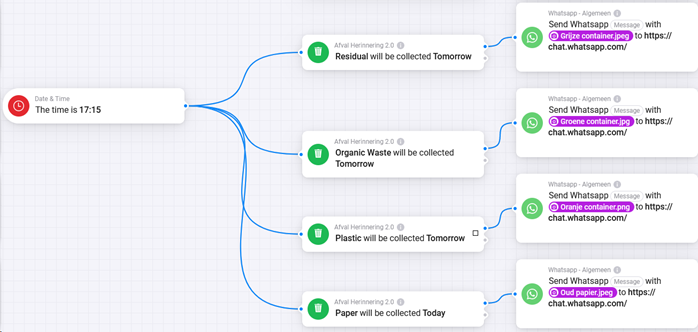
I am not going to write out the flows, but I will put my flows in as overlapping pictures. I mean overlapping, so you can see how they are linked to each other. Make sure you also link each flow card together to bring up the tags you need.
PLEASE NOTE: in some flow cards a space may be hidden 😉.
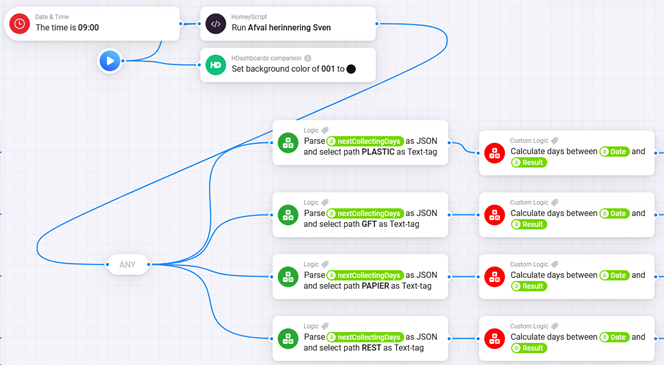
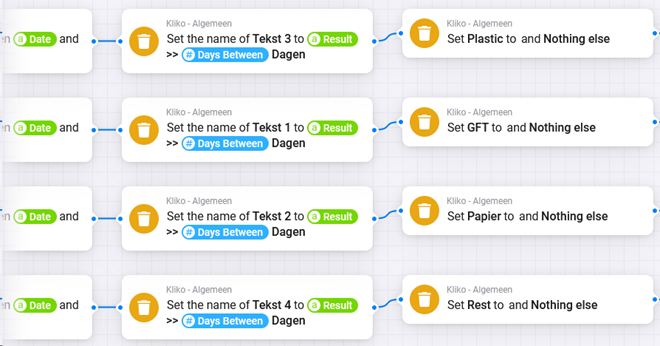
I use 2 background colors, black and if it comes within 2 days, the line will become white. You can of course ignore/skip this and then you don't have to make the 2 flow maps below.
HDasboard configuration.
Now go to HDashboard and log in, then go to the dashboard where it should be located and click on the pencil so that you enter the edit menu.

Then click on the +
Now create a new multicard.
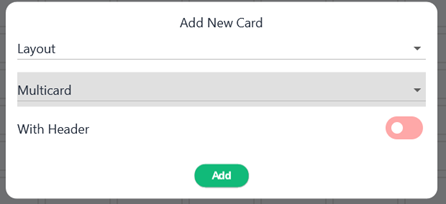
Multicard has been created:
Now we are going to add the devices.
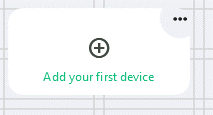
Click on the + above add your first device.

Under Device (bottom dropdown), look for Kliko (as I called it).
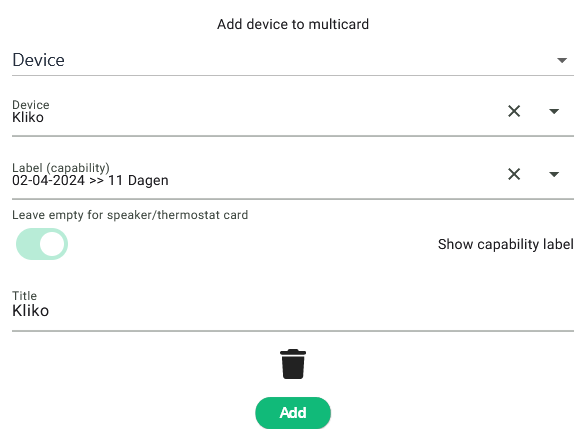
Once you have selected it, you will see that a “menu” has been added. If you click on that, you will see “wheelie bins” that you have, in my case 4 pieces.

I select the top one and arrive at the screen below:
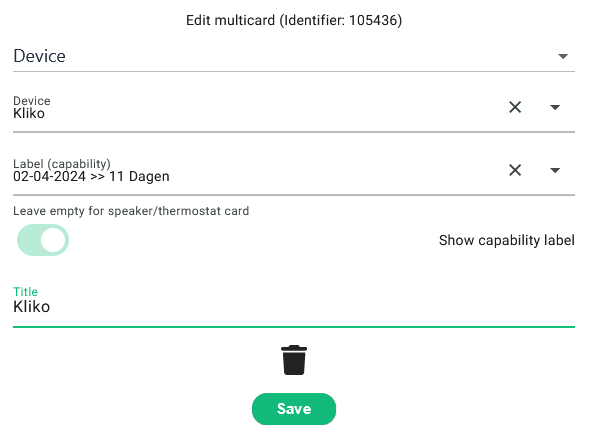
Now you have to change the title to which trashcan it is. It is therefore important to find out once when which "trashcan" is emptied, so that it is properly placed in the multicard.
Once you have added these, you can also add the others you need into the multicard. Then you can make the multicard even bigger, wider, etc., whatever you want. Make sure you leave the slider in the screenshot above turned on, otherwise you will not get the date.
If all is well, the end result should be this:
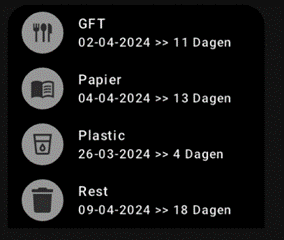
In my case it is now of course with black backgrounds, because I have set this in the flows.
We now go to the Gallery app for the images (if you want to use this).
Now we are going to upload the images that you want to use in the Gallery app. You can search for images on Google that you want to use.
Go to the gear

Click on Gallery:

Click configure:

Click on the + to add your images:

I personally use the images I get from Google via WhatsApp as an extra reminder. Below is the flow for WhatsApp.I assume that you have already configured WhatsApp.
To send Image messages to HDashboard you can use the DAN flows below.I don't use them myself.
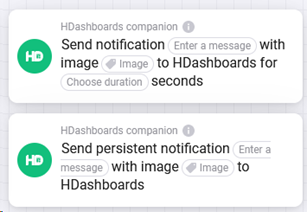
I know there are also people who even have it sent to their TV etc...
Once it works, see how you can fine-tune it more to yourself and if you have any tips for my manual, I'd love to hear them 😊.
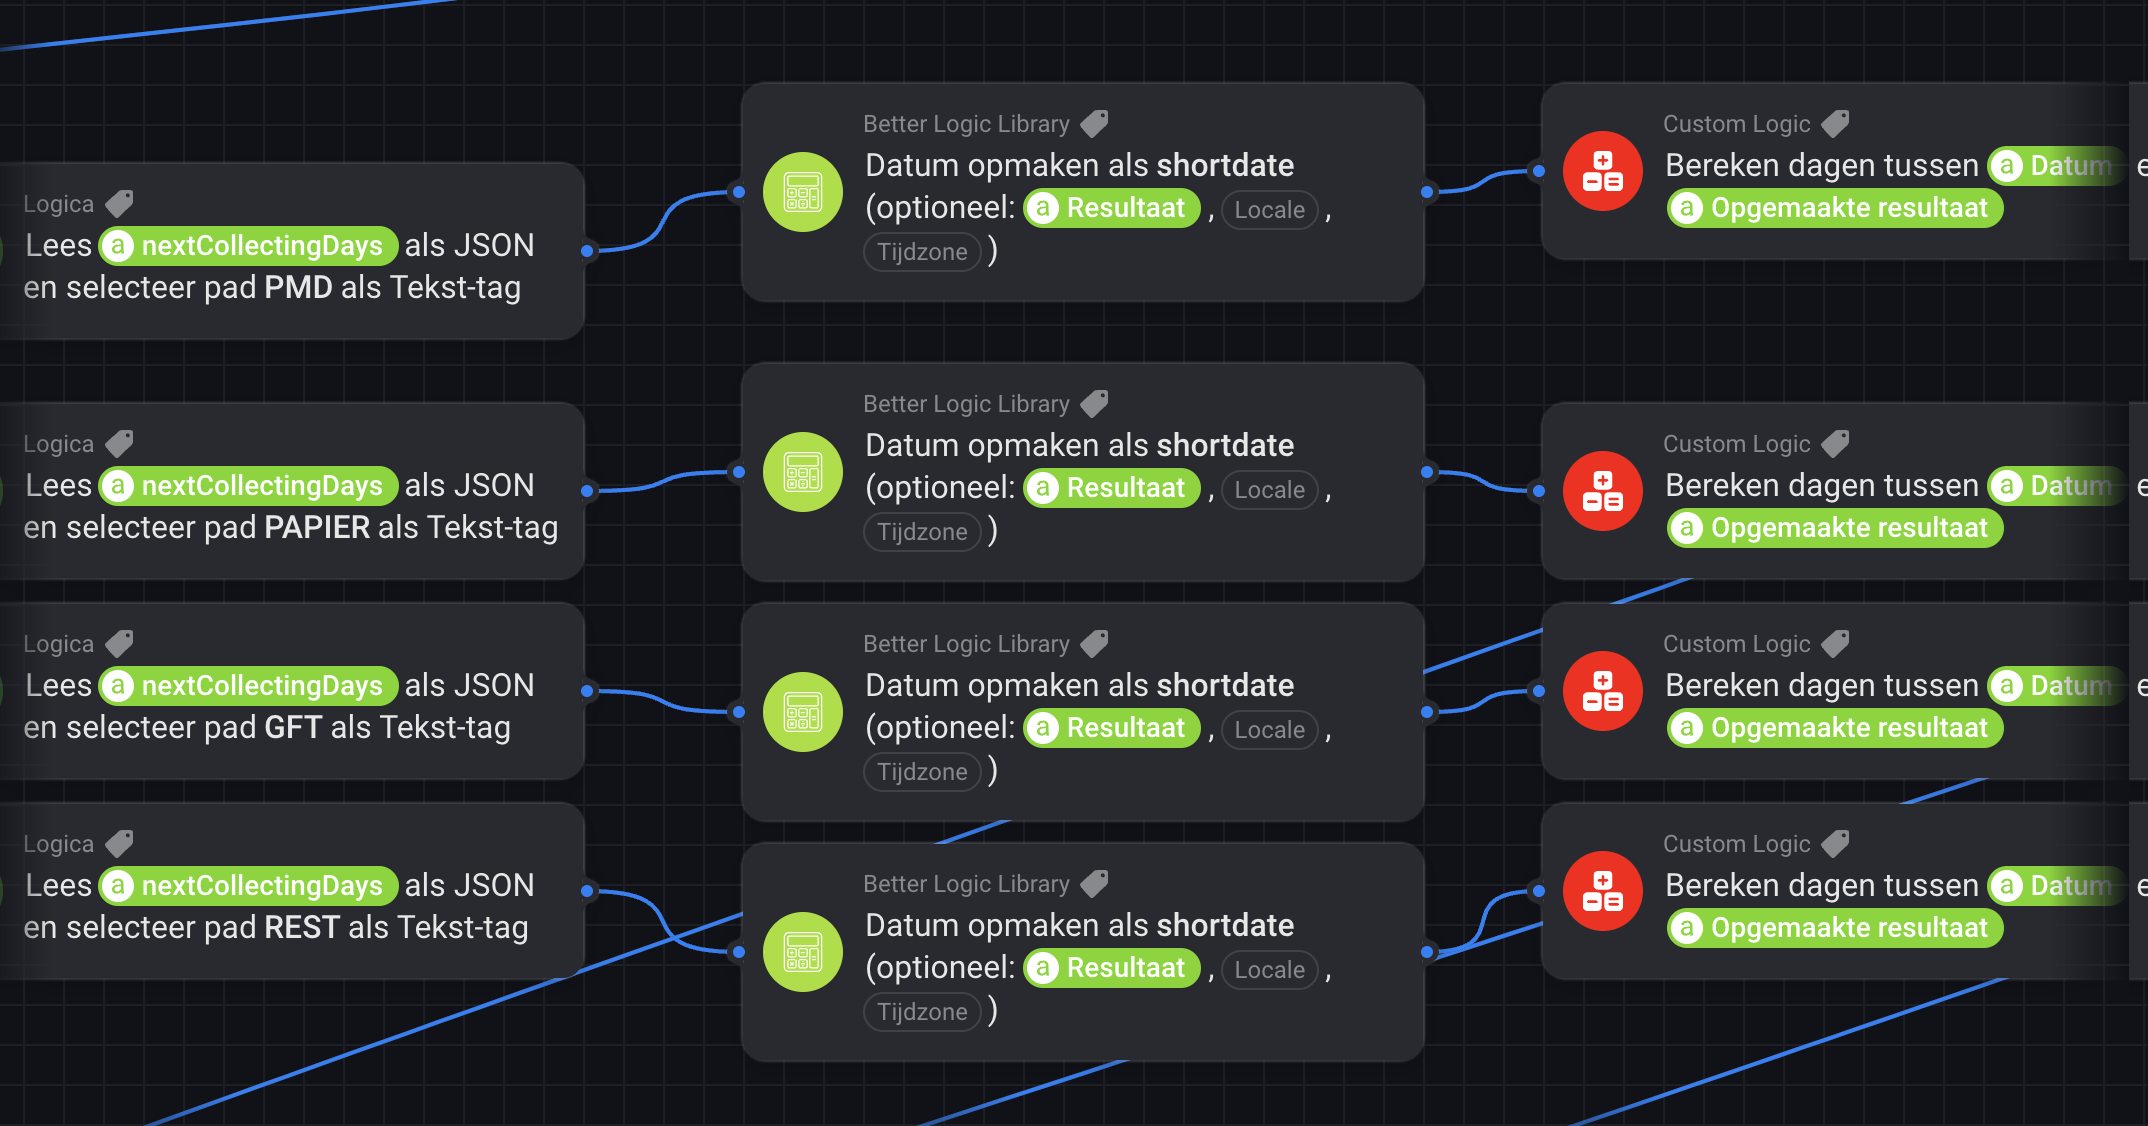
Note:
If the dates results are wrong. As example it is: yy:mm:dd
Then you can use the app: Better Logic Library
With this app you can amend the date results to: dd:mm:yy
Regards,
Sven