Needed apps:
- IcalCalender
- Loops
Step 1:
To make the flow we first need to connect the calender to the IcalCalender app. Make sure you go to the homey app store and install the Ical Calender and loops app.
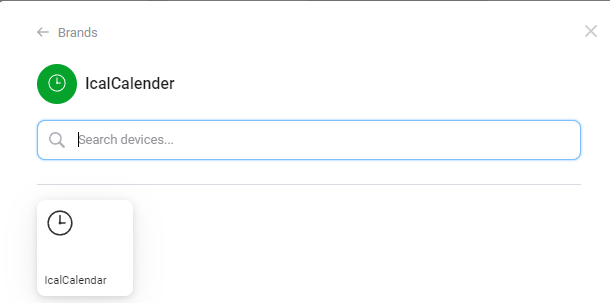
Now you will add a device and select the IcalCalender app. Now your device is added.
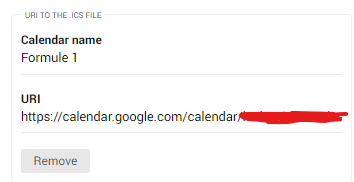
Now you will go to settings and to your IcalCalender app. Click on configure to add your Calender url. If its a google calender for example then make sure its the open url.
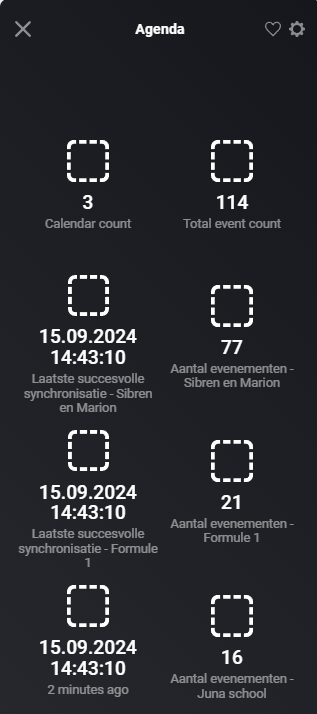
Check first if your calender is syncing items. You can do this by going to your Ical calender device.
Step 2:
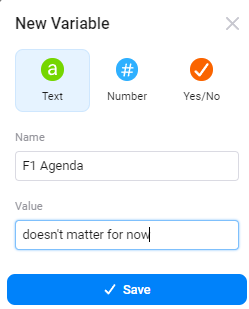
First we need a Variable where we will store our data from the flow. This variable we will eventually add on our dashboard. Give the variable the name what is good for you. The value doesn't really matter fow now because the data in there will be replaced with data that we get out of our flow.
Step 3:
Part 1 of the flow:
- Card 1 of the picture below
First we need to start with a trigger in our flow. In my case for this calender i sync it every 3 hours. But for my normal calenders i will sync it every hour. It just depends on your needs.
- Card 2 of the picture below
Then add a then card with the sync calendars from IcalCalender.
- Card 3 of the picture below
Add a then card with start loop. The name of the loop is whatever you like. In this case i run it 4 times with a delay of 1 second.

Part 2 of the flow:
- Card 1 on the picture below
We start adding the loop card when loop F1 Agenda (the loop name you just made) is started
- Card 2 on the picture below
Then we add a "then" card that contains the logic set text variable to text. In my case i pick F1 agenda and set it to aankomende events (coming events). You can also change this to your liking.
- Card 3 on the picture below
We continue with a then icalcalender card. Get events with index xx from calender xx. Fill index with 0 and the calender is the name of your own calender that you added in the Icalcalender app. In my case Formule 1.
- Card 4 on the picture below
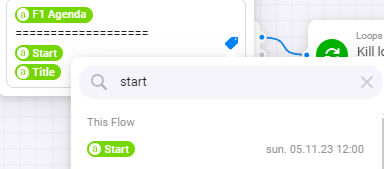
Then we add another then card with set text variables to the tag that contains your calender name. In my case F1 agenda. I then added ============== signs to divide the data from the title. But you can add whatever you like.
Then you add 2 more tags. Add start and title. Befefore we can pick the start and title card we need to connect both cards otherwise we don't get the this flow option for tags. Like in the example below here.
If you want to use enter in homey you can do this with shift + enter.

Part 3 of the flow:
- Card 1 on the picture below
We start with then card. In this case a Loop iterates card. Pick the name of your loop. (the one you made)
- Card 2 on the picture below
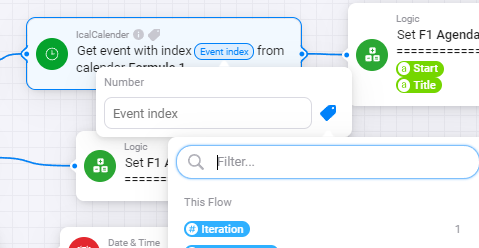
Then we add a then IcalCalender card. Get event with index Iteration from calender Formule 1. Formule one is the name of your own calender. Befefore we can pick the Iteration card we need to connect both
cards otherwise we dont get the this flow option for tags.
- Card 3 on the picture below.
Then we add another then card with set text variables to the tag that contains your calender name. In my case F1 agenda. I then added ============== signs to divide the data from the title. But you can add whatever you like.
Then you add 2 more tags. Add start and title. Befefore we can pick the start and title card we need to connect both cards otherwise we don't get the this flow option for tags. Like in the example below here. This is same as we did in part 2 of the flow.
- Card 4 on the picture below.
Add an and logic card. If number is greater than number. Connect the card first before we can add Iteration value. Then add Iteration value and add 6.
- Card 5 on the picture below.
Add an then card with Kill loop name should trigger finished card. The name is the name of your loop. In my case F1 agenda. Set trigger kill card to yes.

Part 4 of the flow:
- Card 1 on the picture below
Add a then card with loop xxx is finished. Pick the name of your loop. In my case F1 Agenda.
- Card 2 on the picture below.
Add a then logic card with set text variable to text. Pick the name of the logic card we added at the start. Then set it to the name of our logic card.

Now our flow will look like this. We have finished making our flow.

Step 4:
Now we have to add our calender data on our dashboard. The data is stored in the variable we made. A variable can be added by adding a flow token. Go to your specific dashboard andd go into edit mode. Click on the + icon and select flow token.
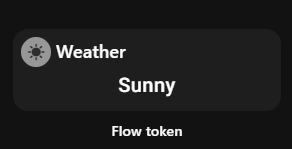
Then search for your flow taken name. That's the name of your variable. In my case F1 agenda. (F1 calender). Then add it.
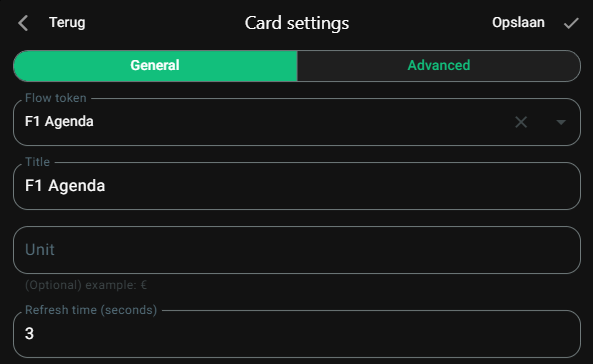
Adjust the size to your liking.
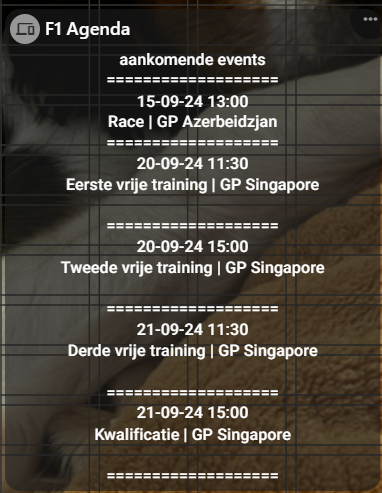
Step 5:
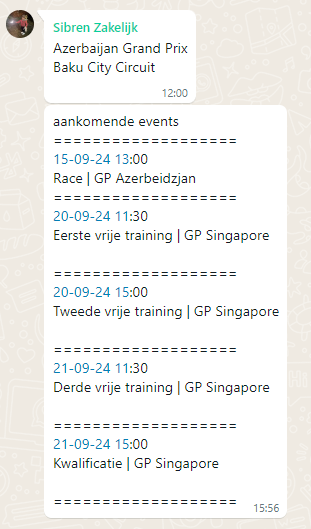
You can also send the data of the flow token to your phone with whatsapp or telegram for example. Like the example below here. Just add a trigger for whenever you want to send it.
Then add a send whatsapp message card with text to number xxxxx. Add the tag of your variable to the text and add the number or group where you want to send it to. This works the same for telegram.

